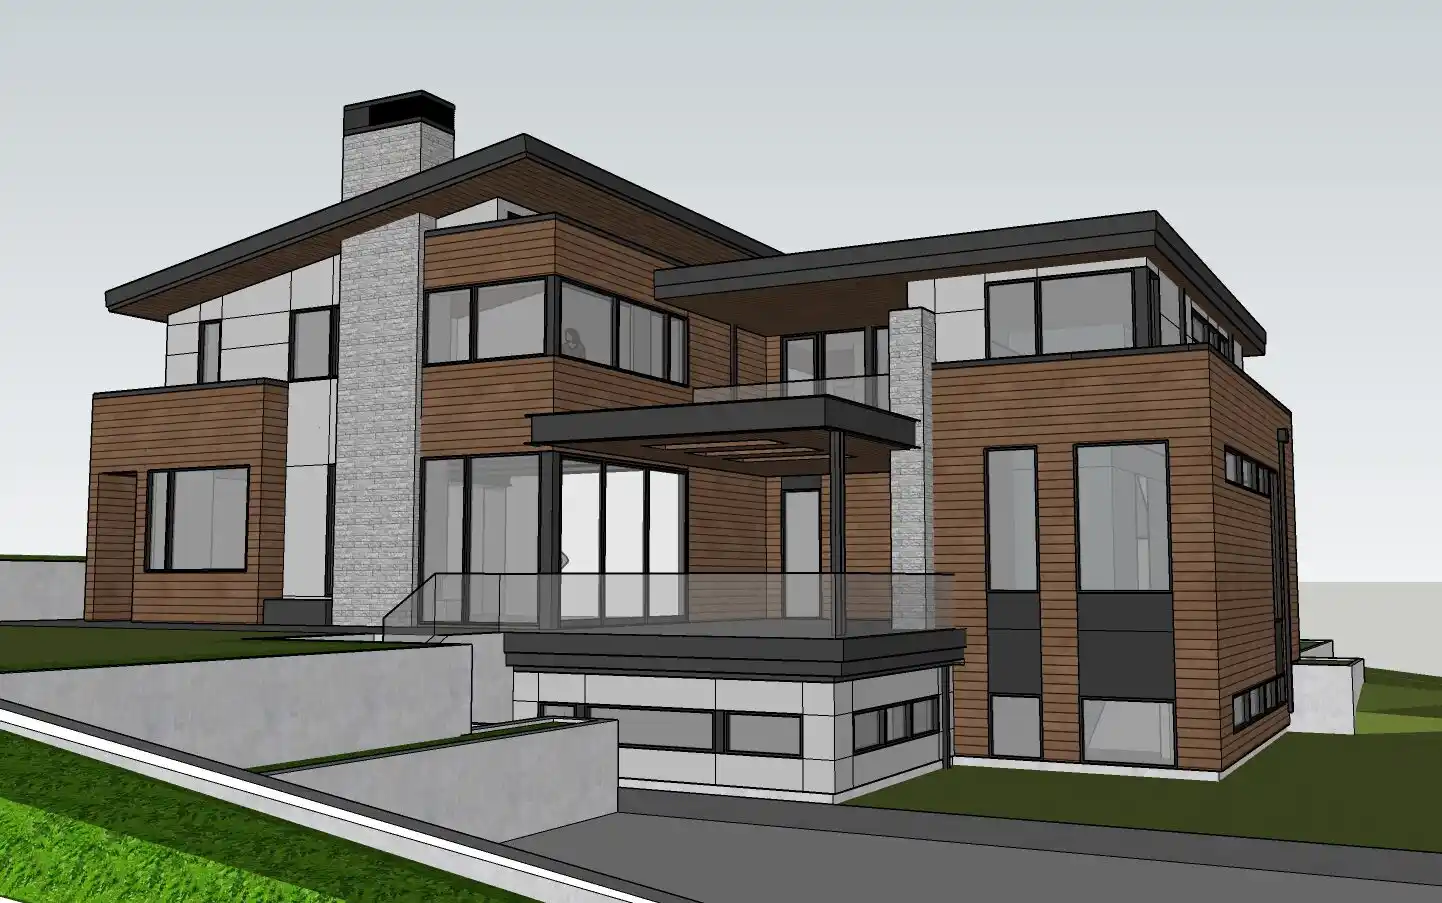
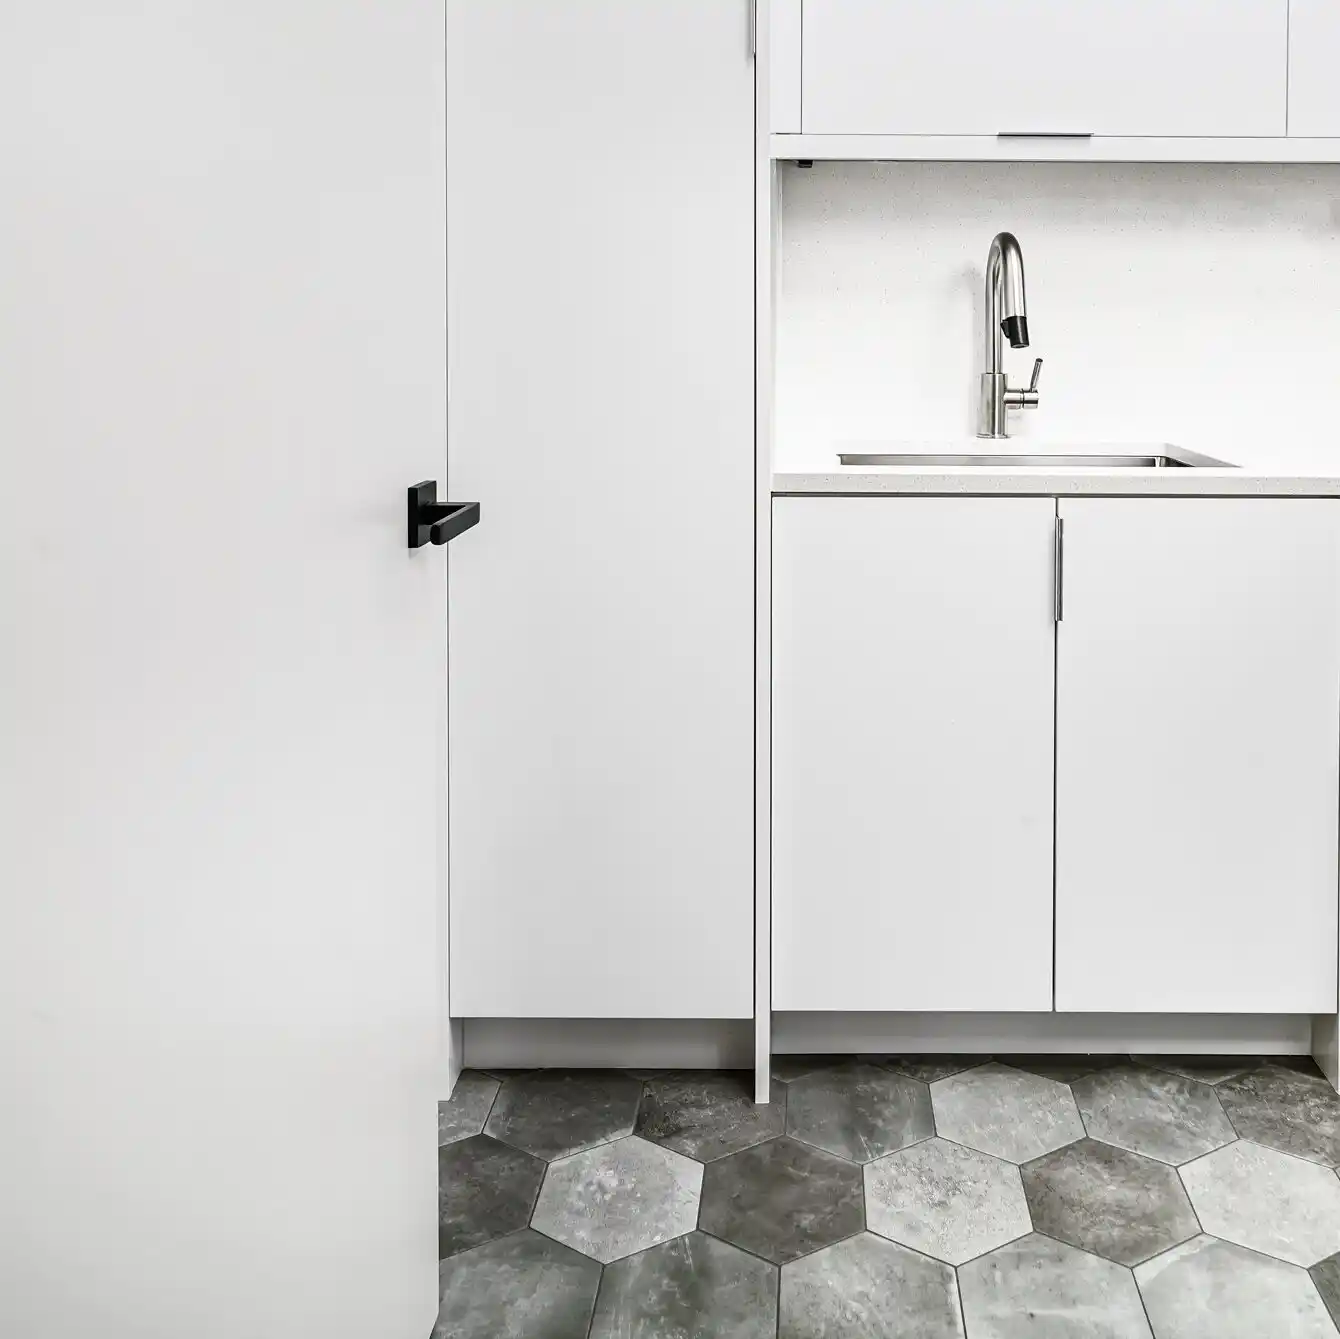
Today’s 3D rendering tools have become one of the greatest evolutions in modern graphic design. 3D renders help us provide concrete examples to our clientele of how we’ve perceived their vision, and how we plan to execute it. However, before diving into a rendering, it’s best to jot down the basic framework of the project with a sketch!
Everything starts with basic geometry. Sketching the design concepts prior to attempting a rendering help formulate plans into correct forms and proportions. Hand-drawn sketches help us clearly understand how objects will interact, how they will reflect light and shadows, and how they should be positioned in relation to each other. They also help us prepare for designing a precise rendering!
This is great practice in how to think and be attentive to the little details, a critical step in design. Not to mention, it adds a great personal touch to the project.
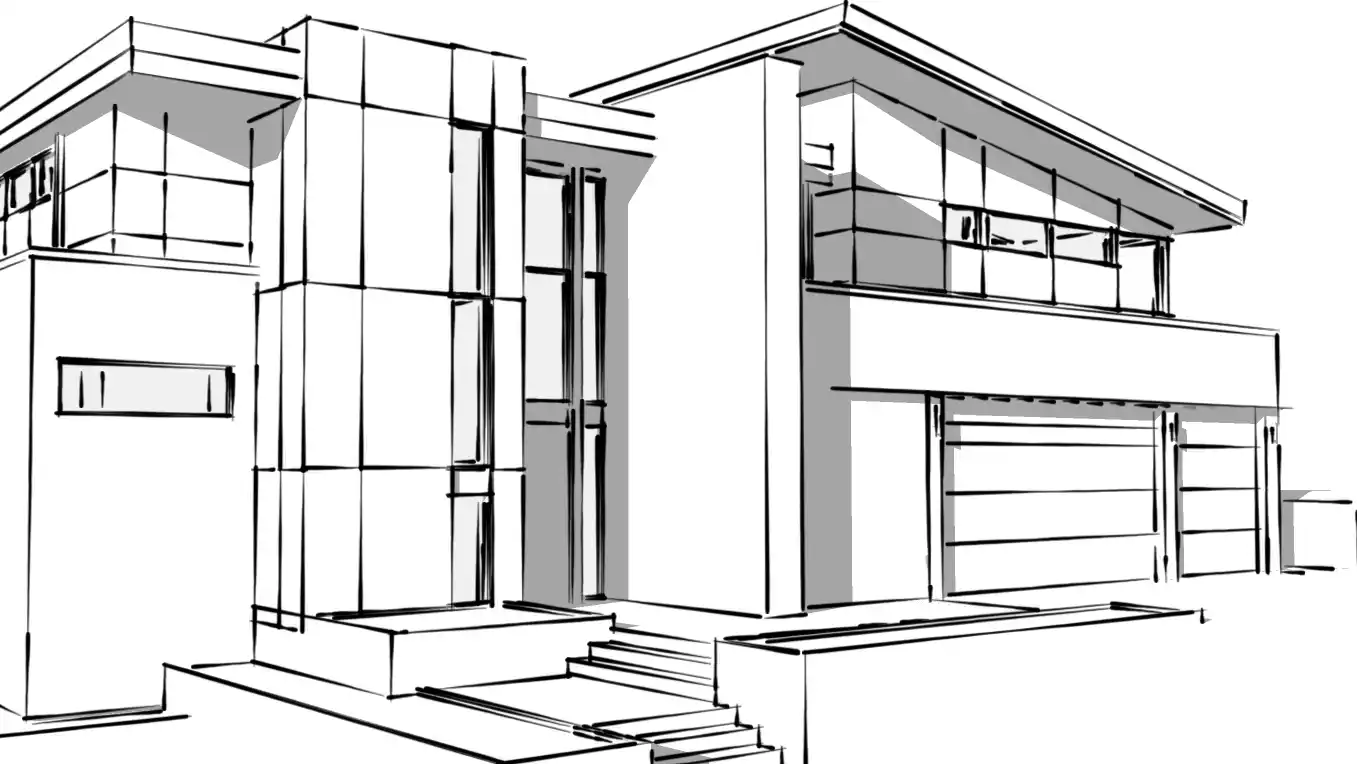
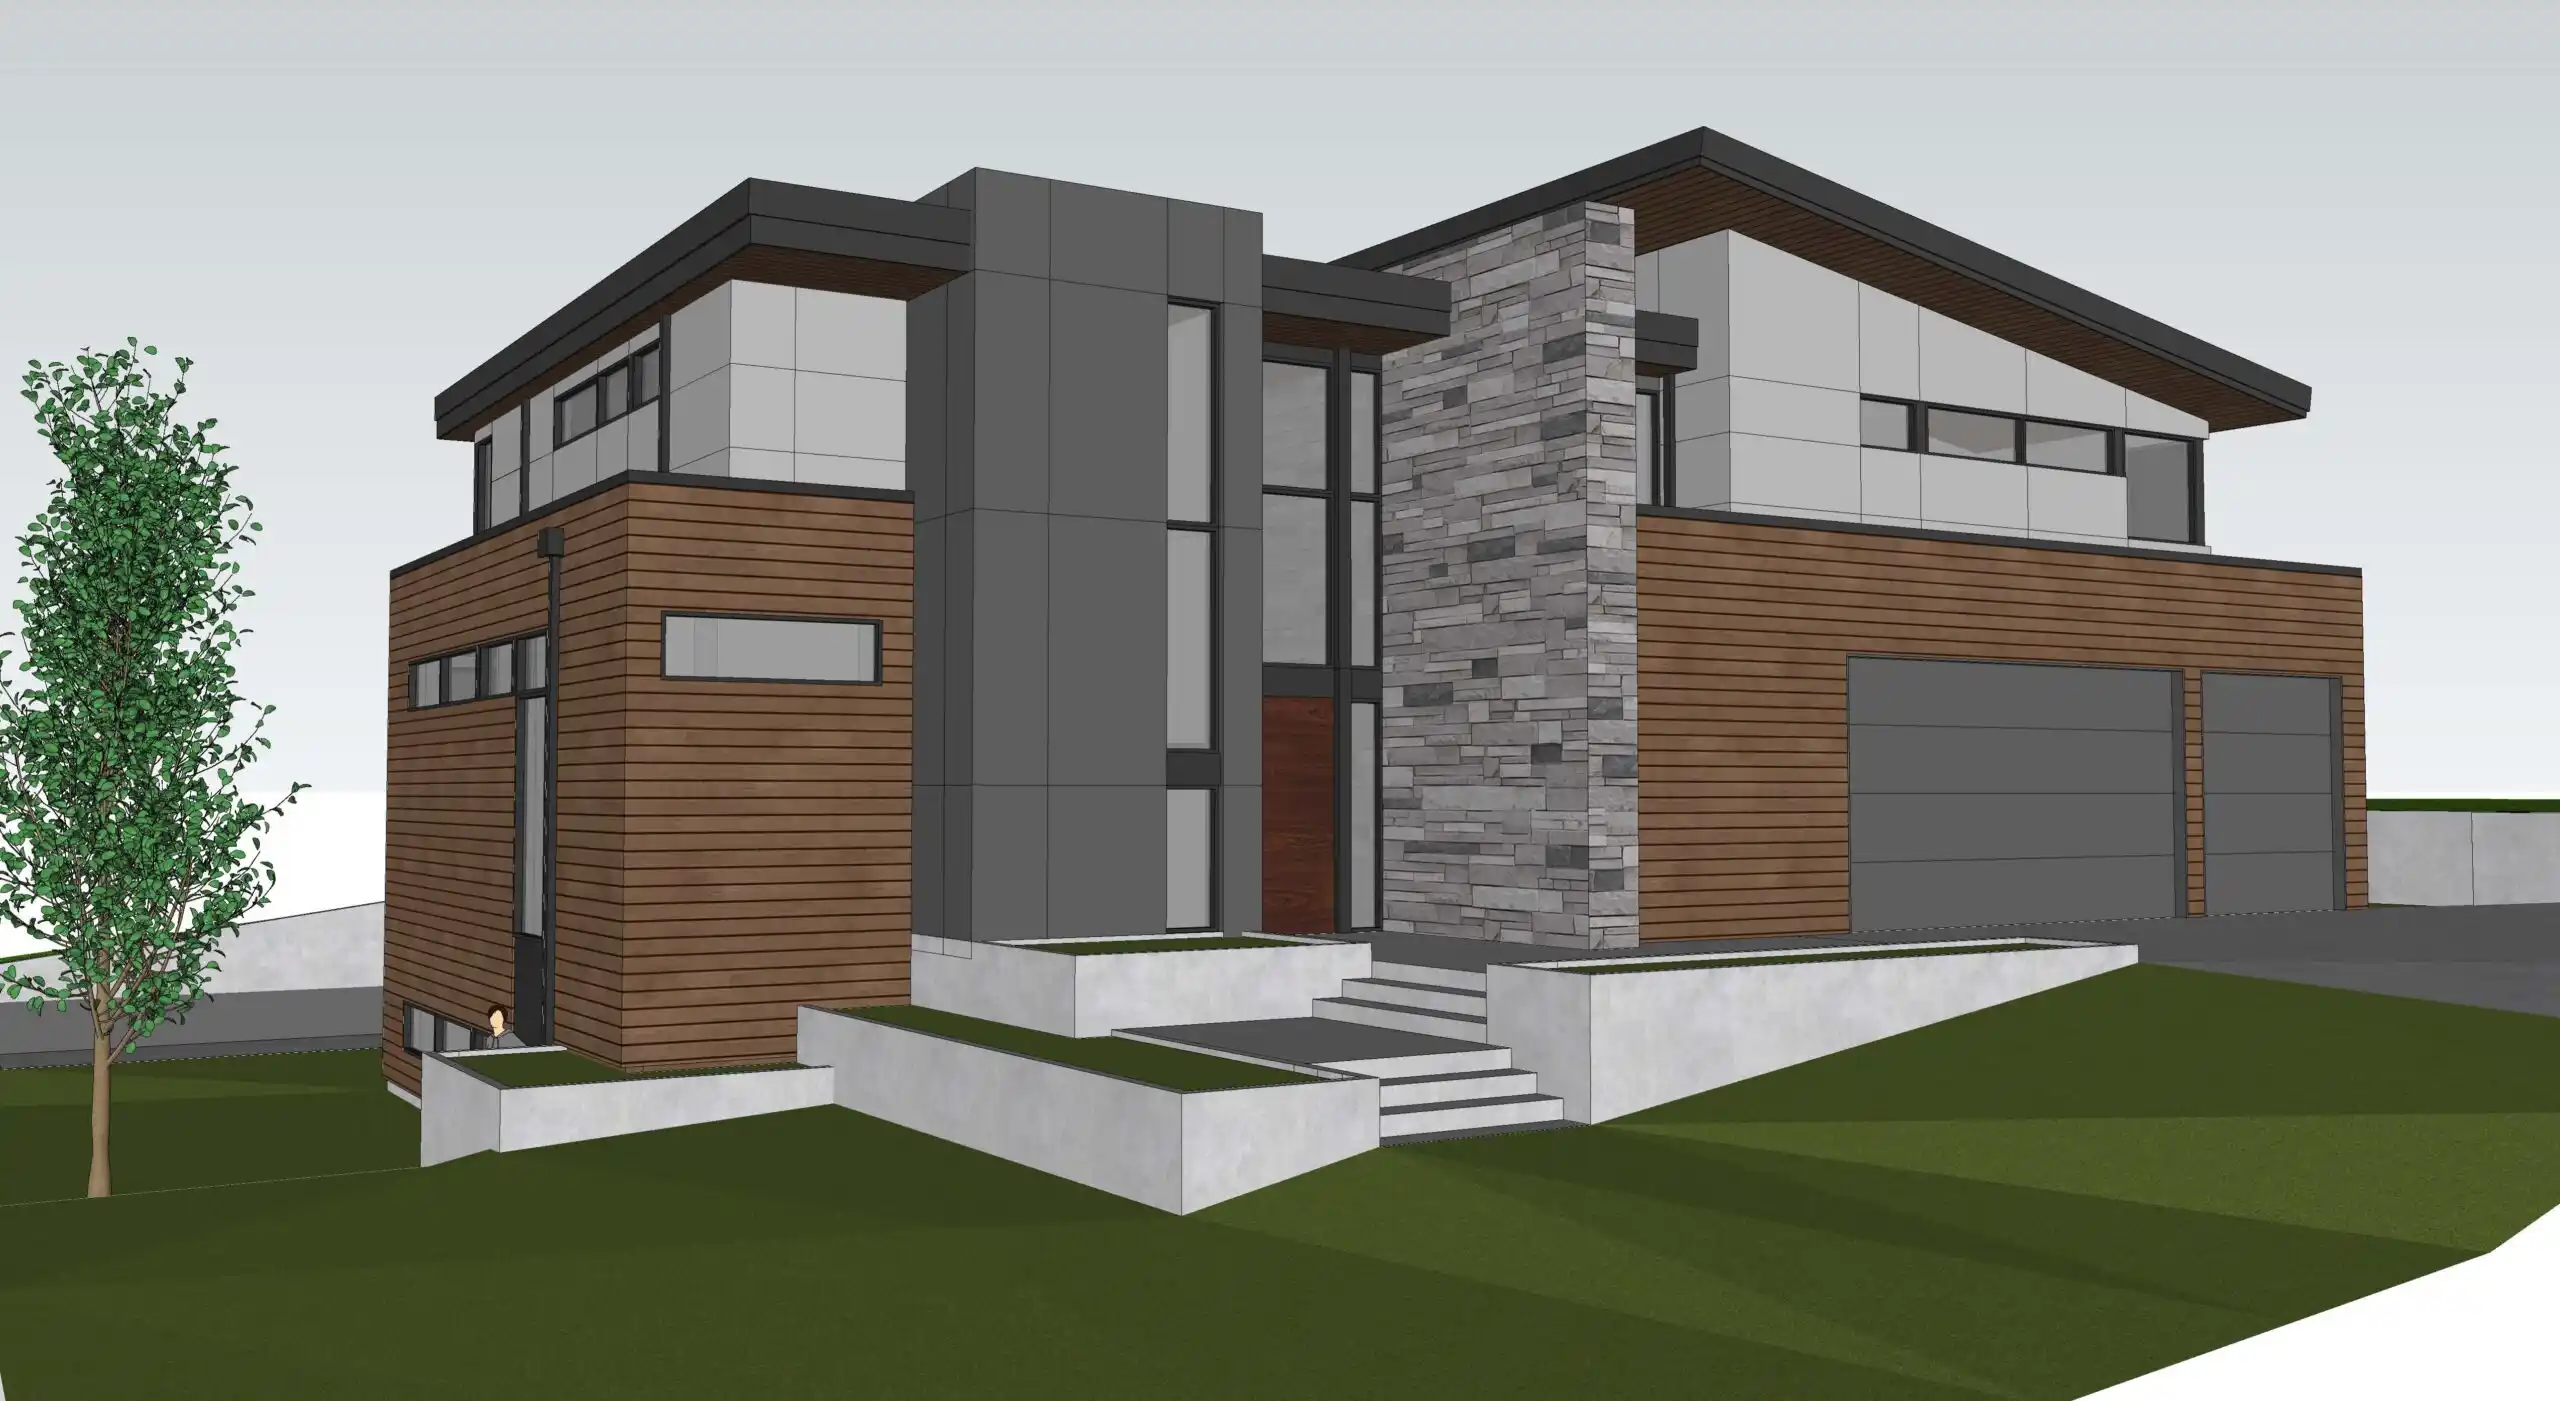
After refining the preliminary stages of design, we use filters, artificial light sources, shading, texture, and color to define the rough sketch. Then comes the rendering – This is where we establish the specific elements of the design, like colors and textures. No matter how accurate a hand-drawn picture may be, 3D renders will show all the details of objects and materials with maximum preciseness.
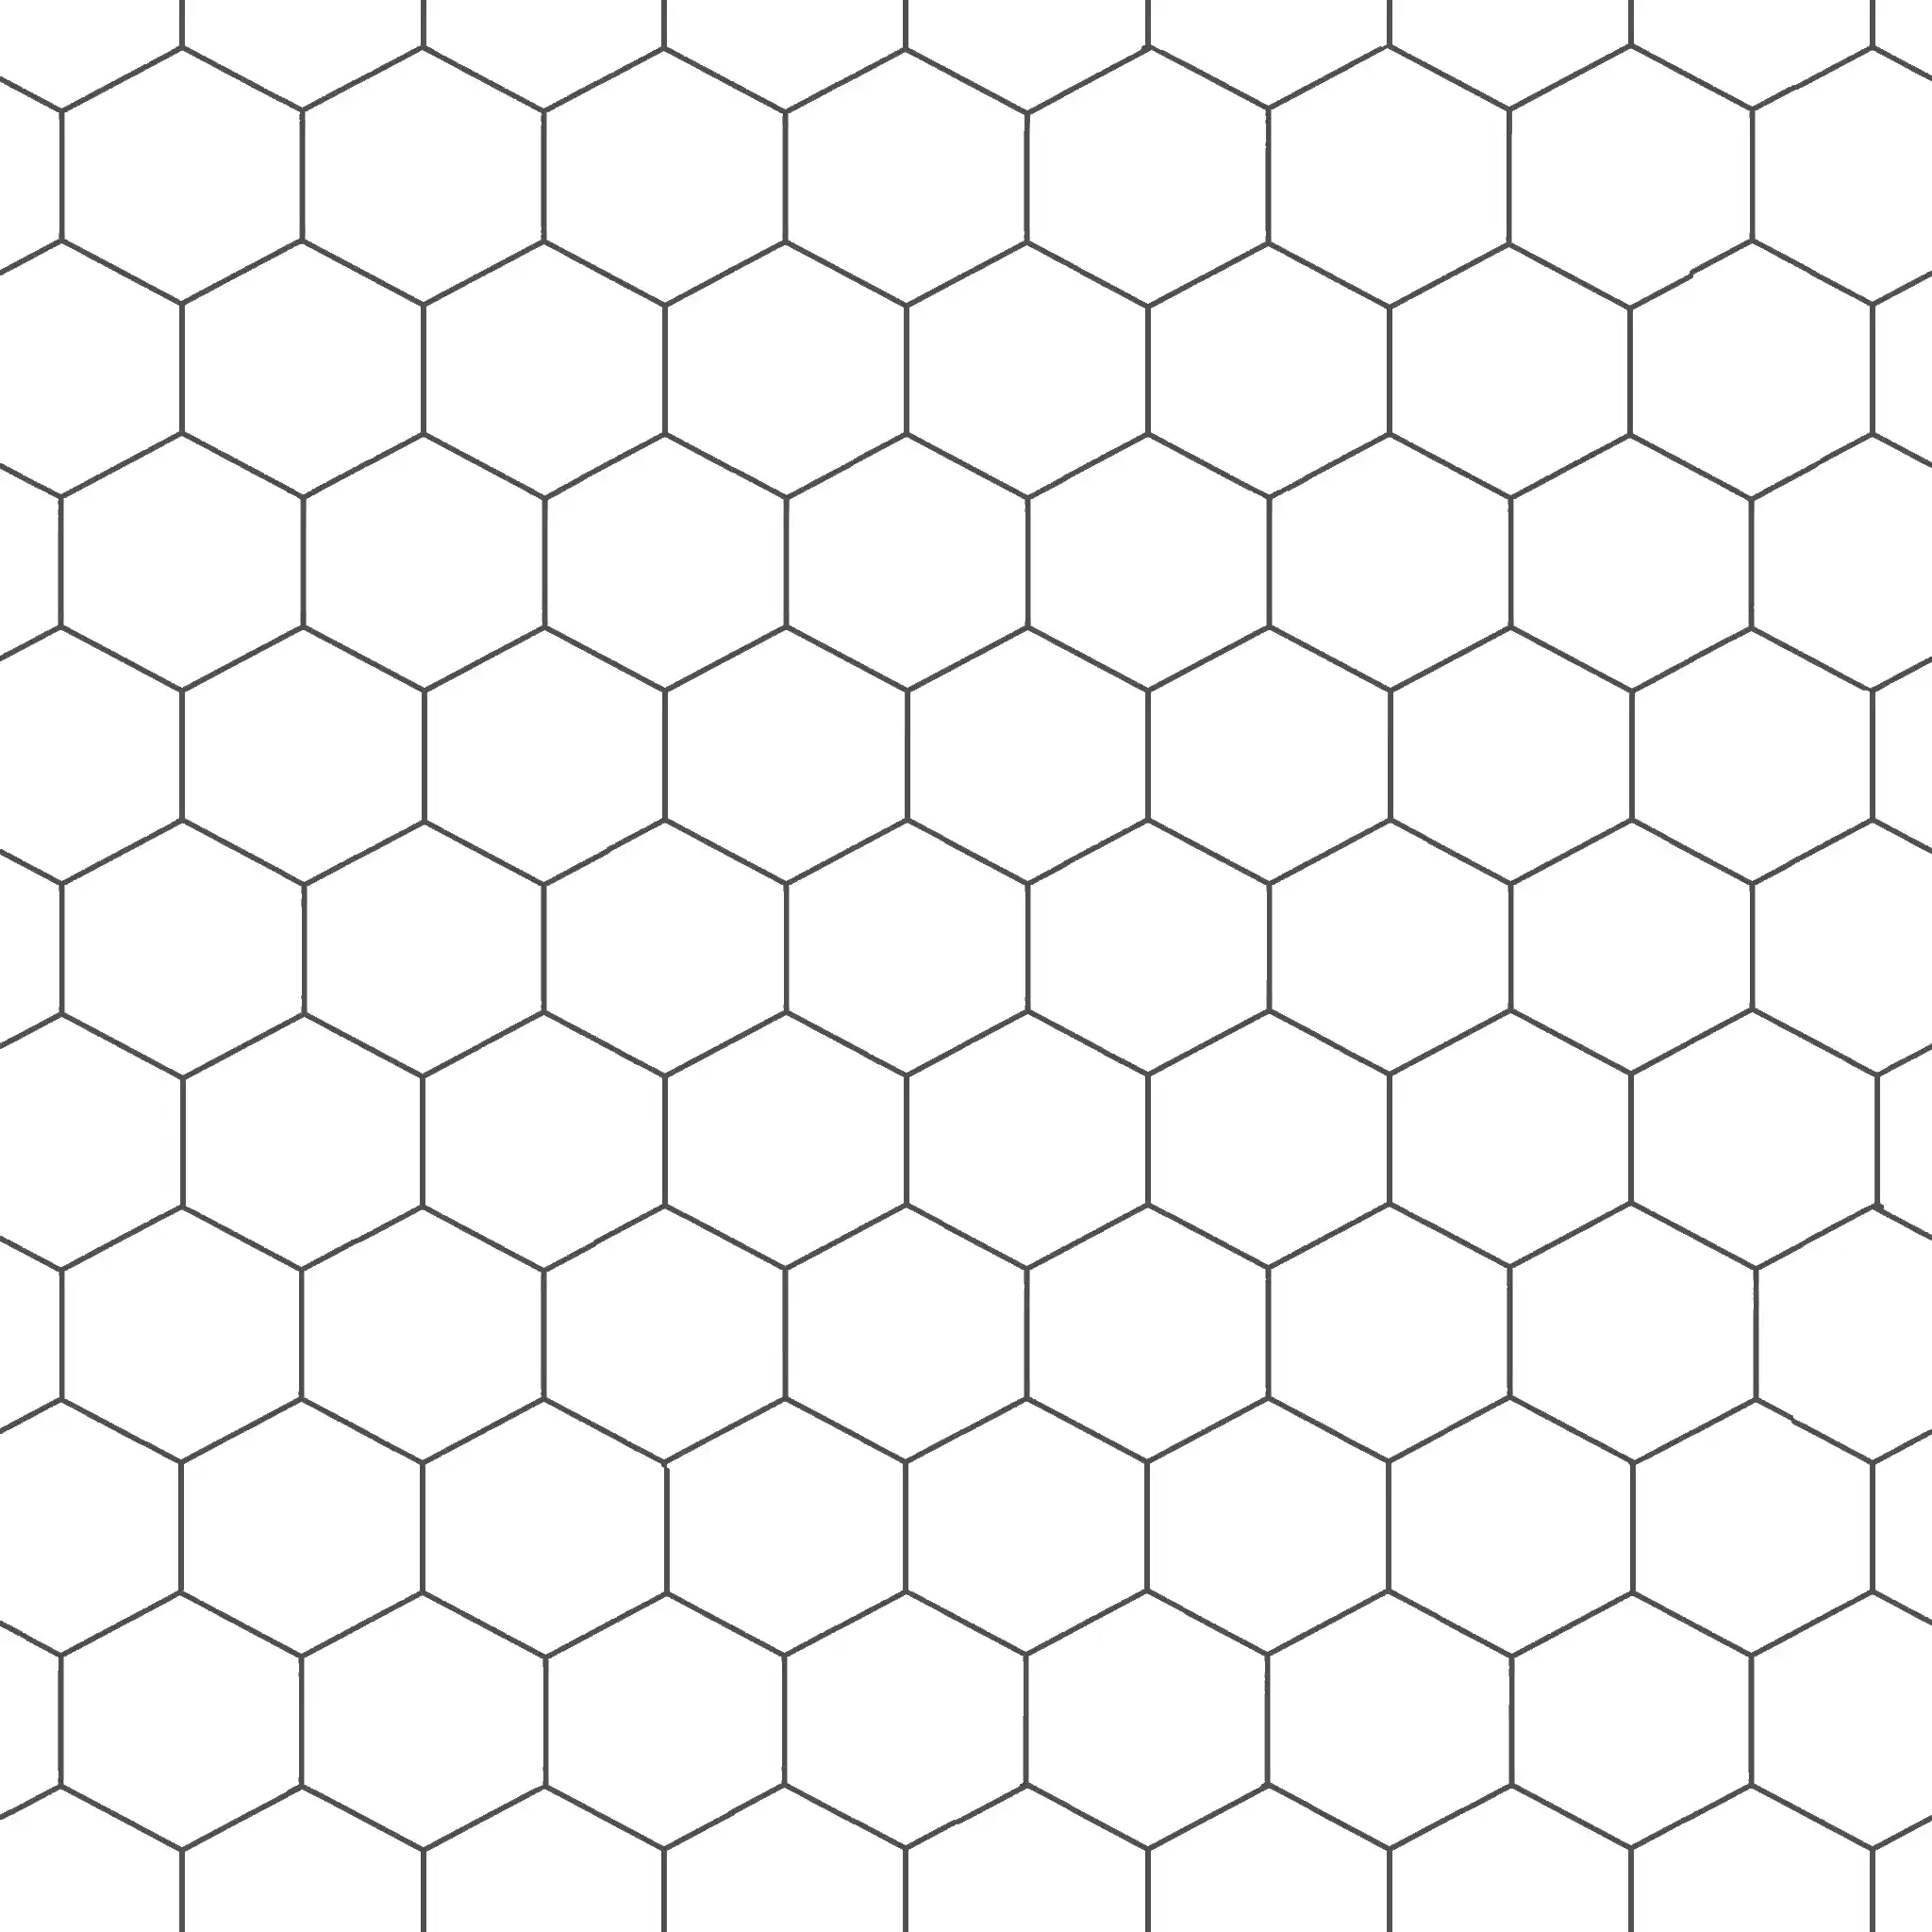
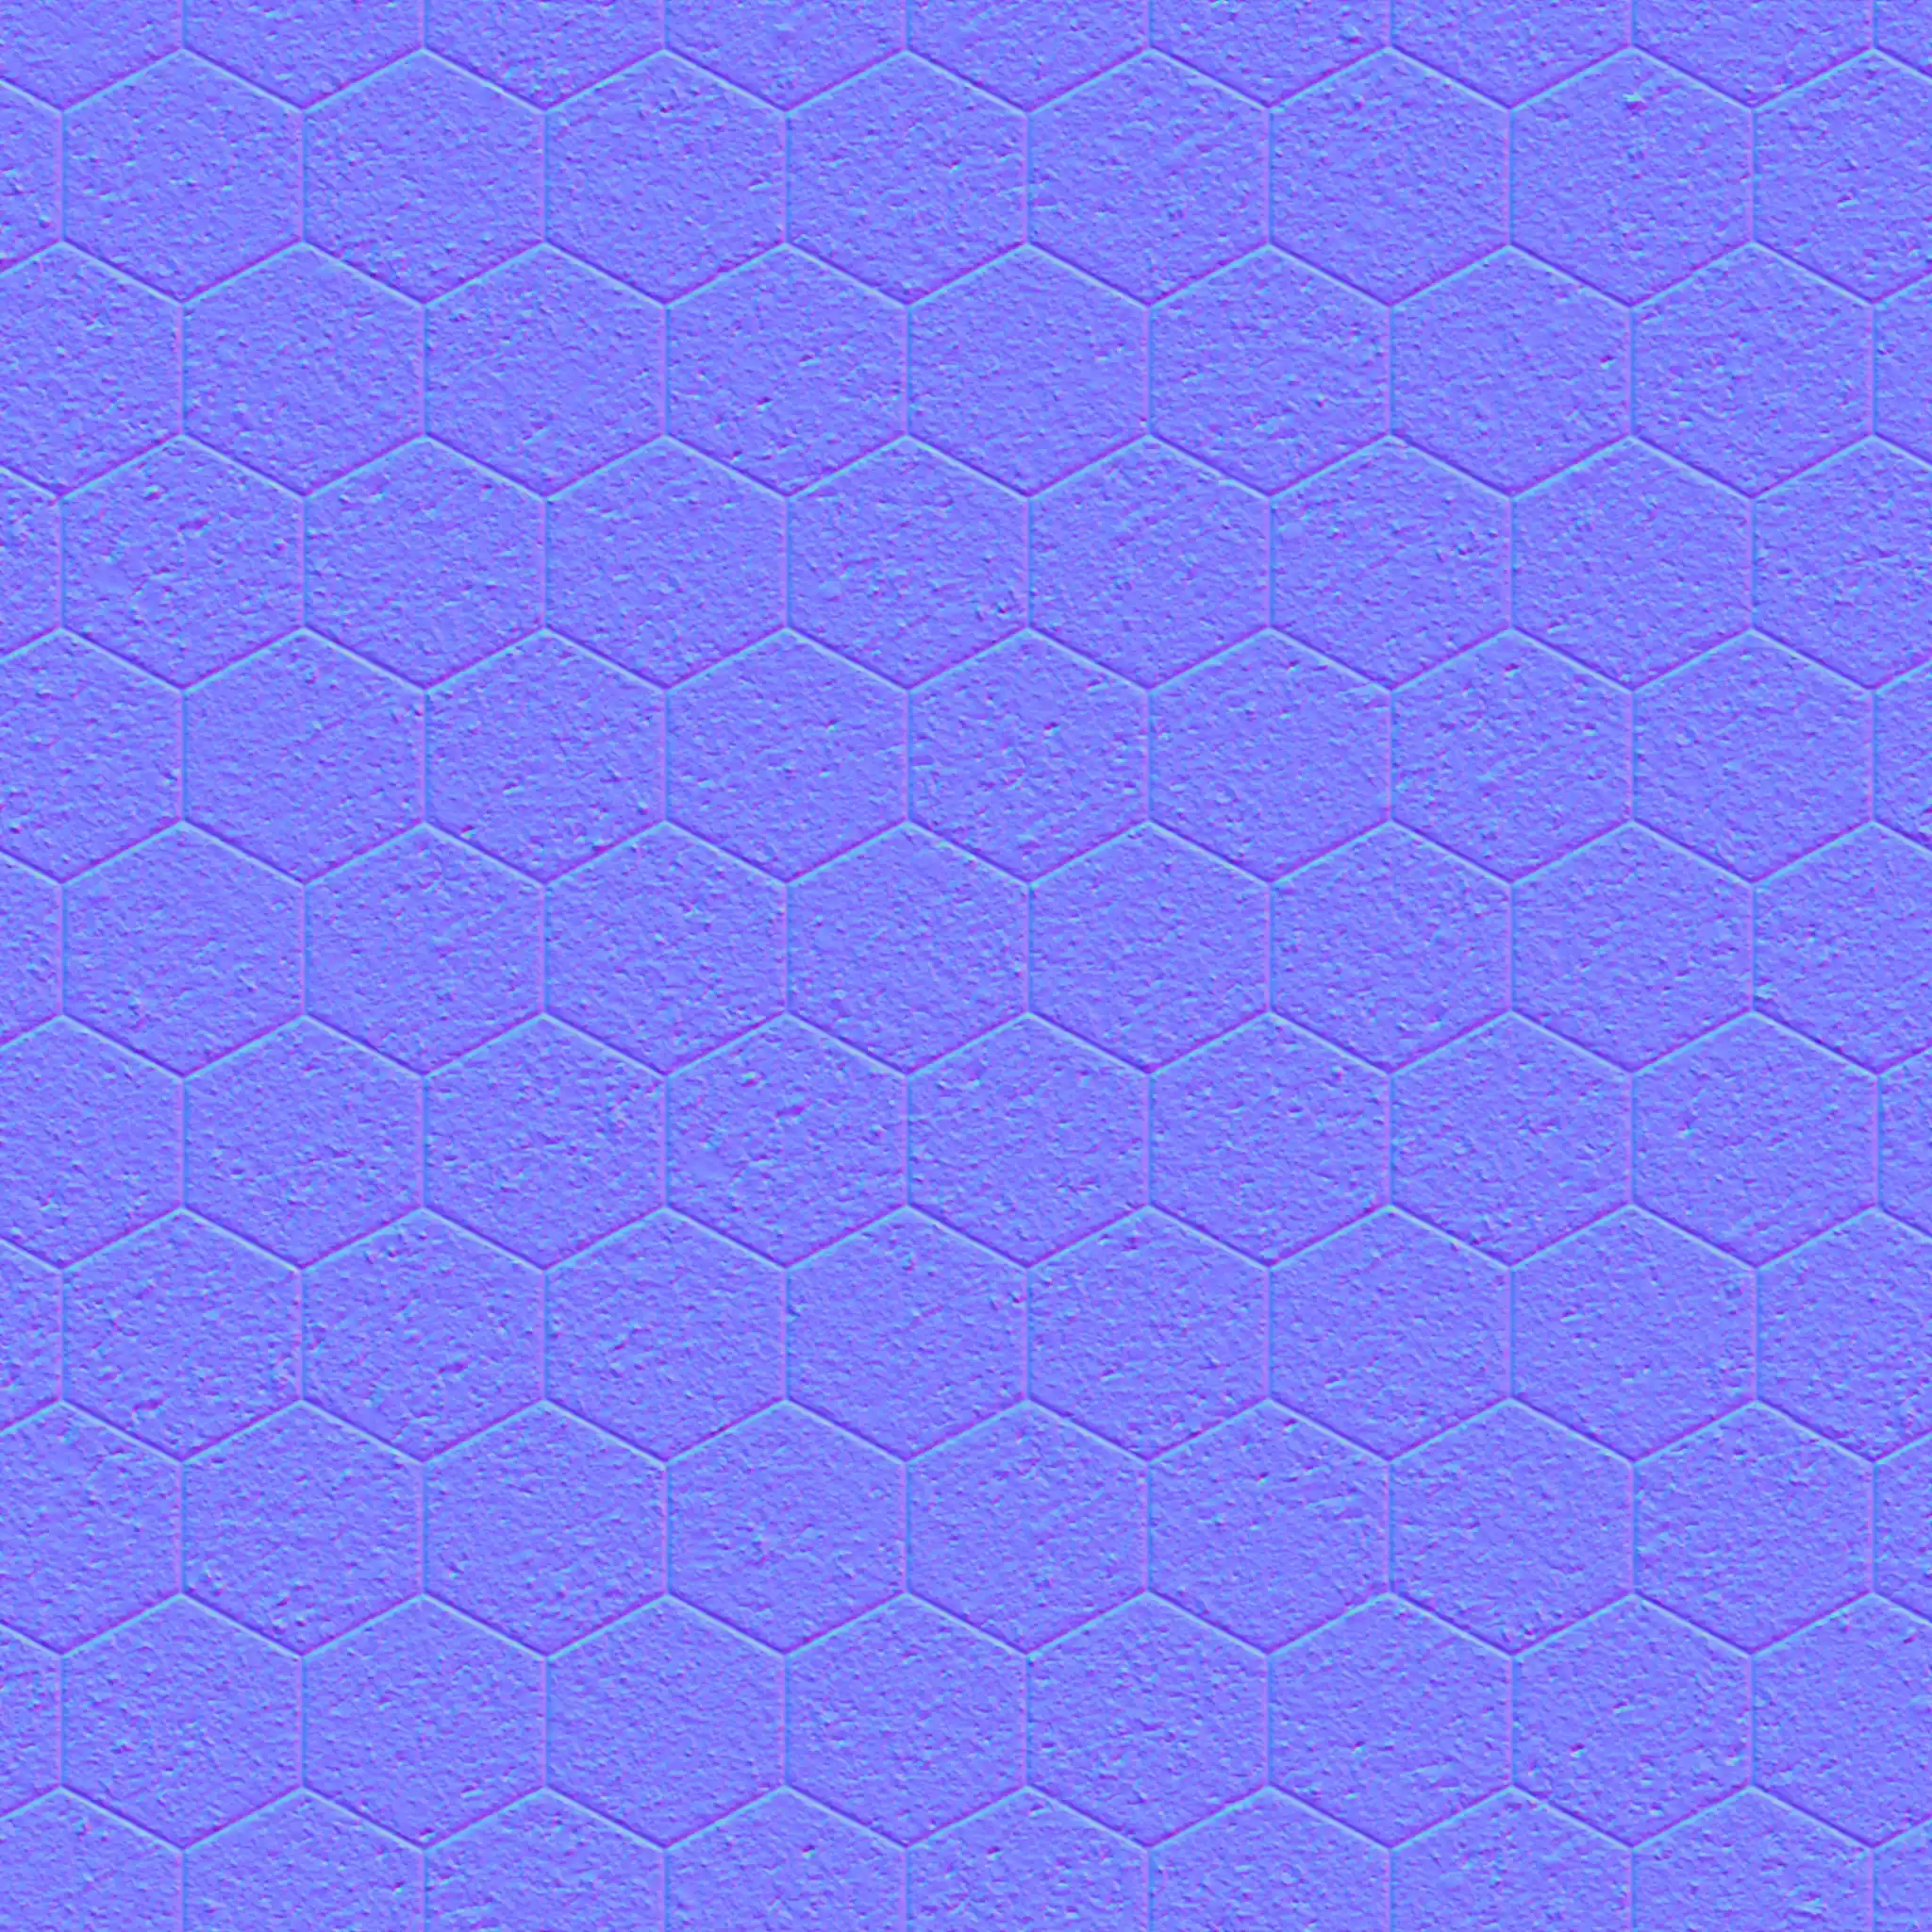

Defining and highlighting the textures of the materials being used- such as tile, wood, or metal- help bring the clients vision to life.
We recommend using drawings when starting work on the project and continue with renderings as soon as the concept is approved.
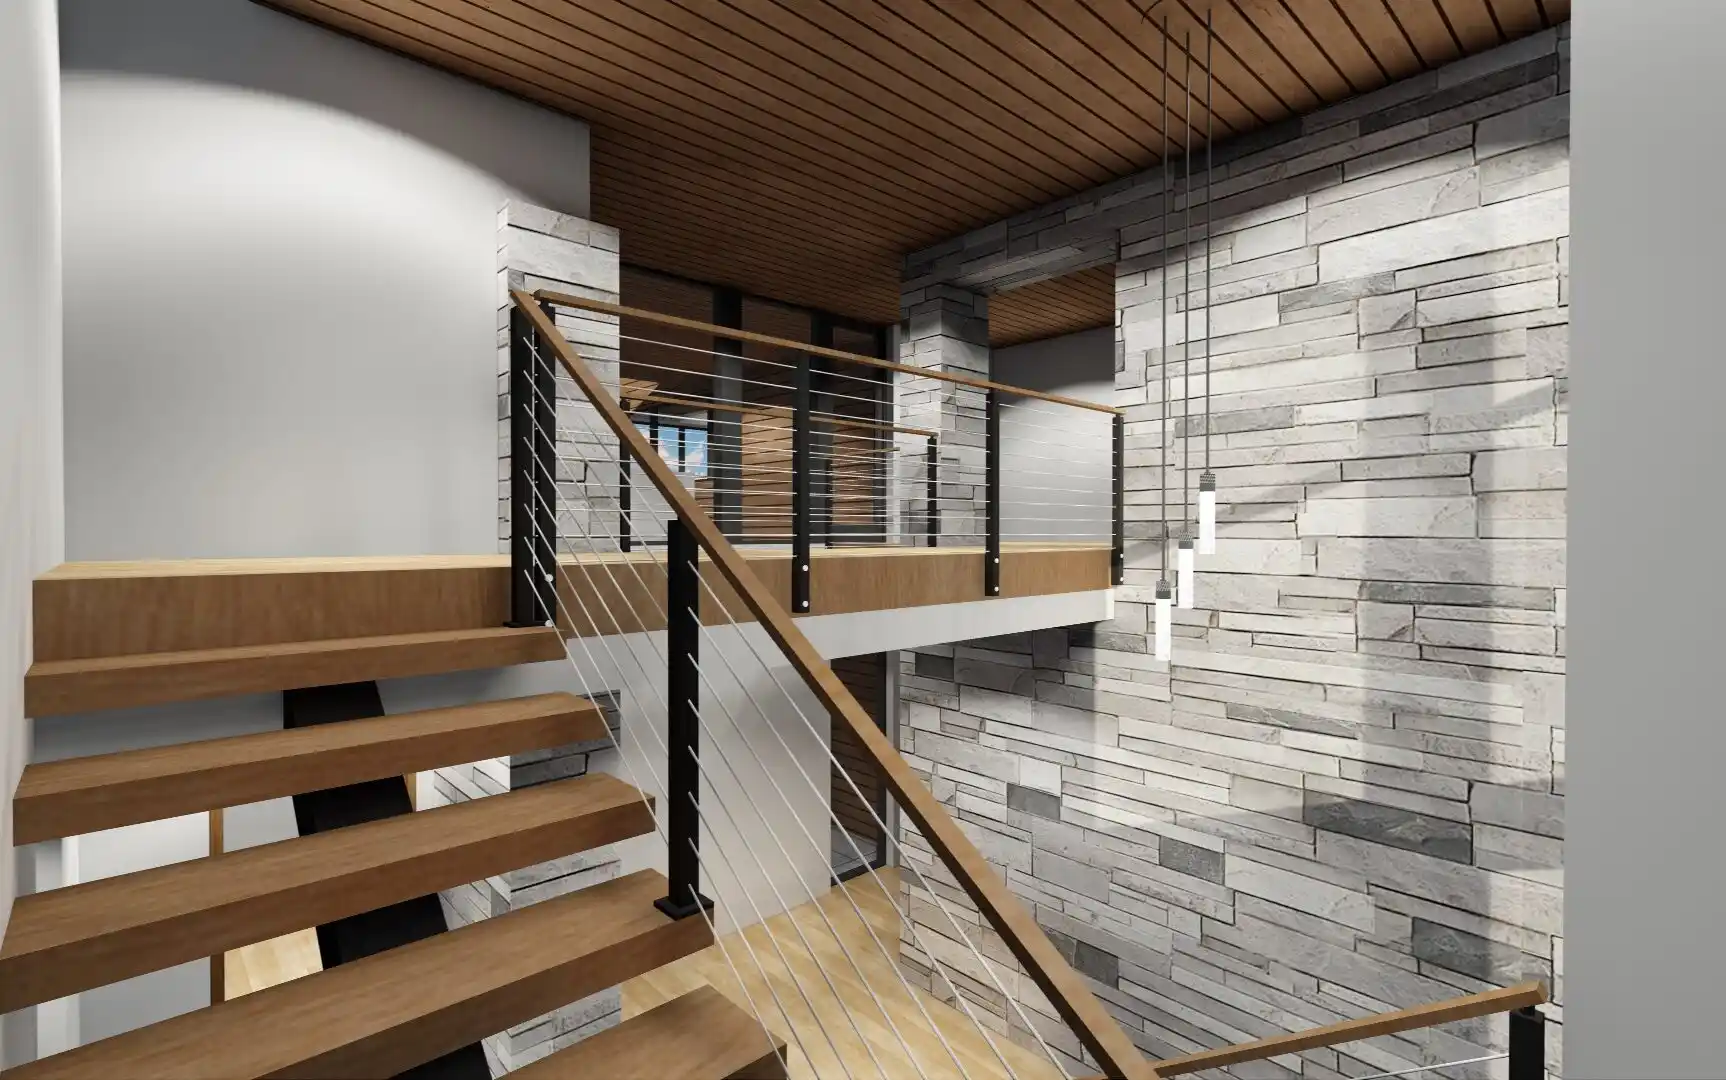
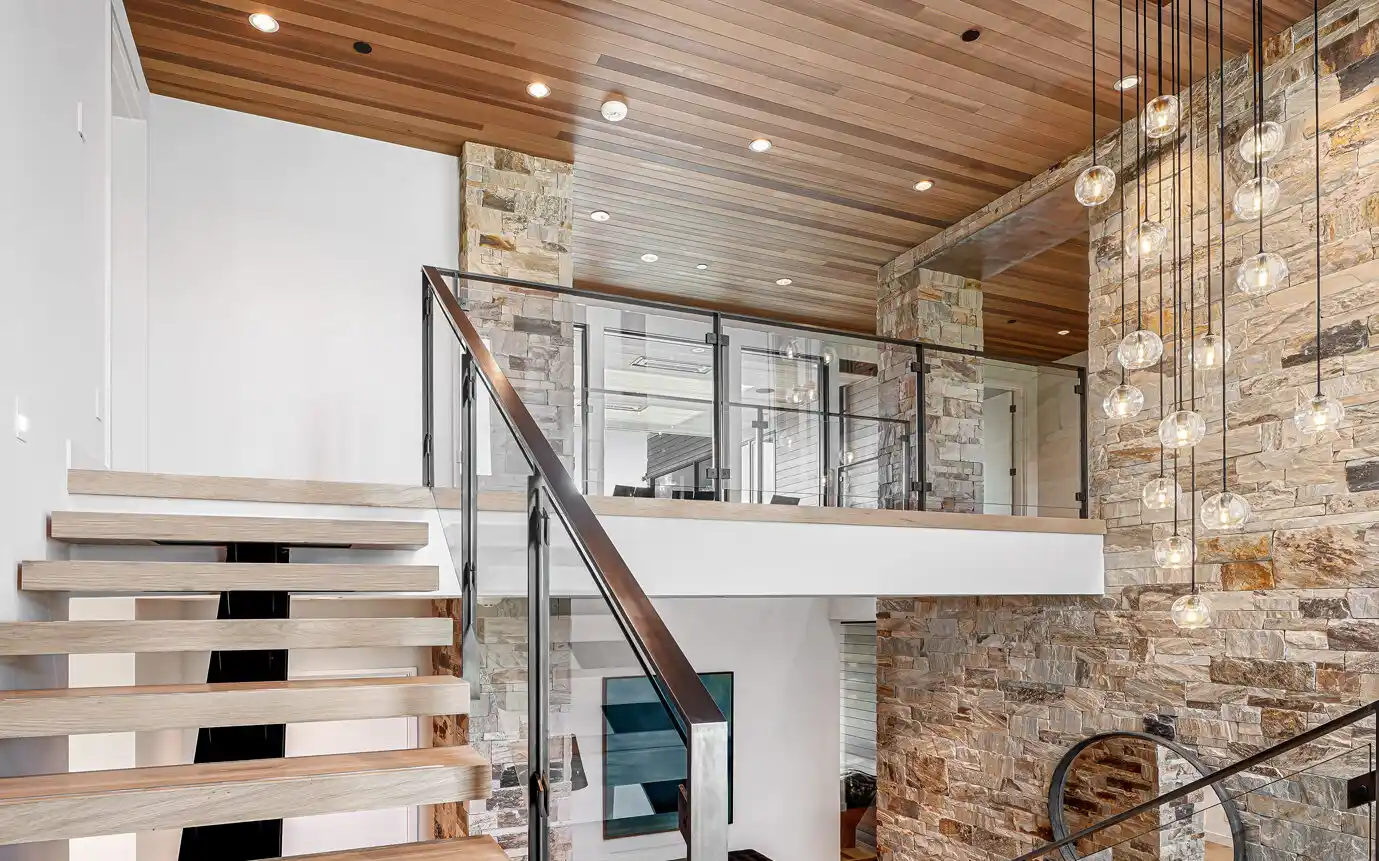
See more of the finished product here!
